
Well here is a picture of the cap and the pattern.
It has a circumference of about 20-21 inches and it stretches a little too.
Here is the link to the page on Ravelry for it.

Twin Cables Hat Pattern
* Size 13 U.S knitting needles
* Cable needle,double pointed needle,pencil, large safety pin,etc. Any thing that you can slip the stiches on.
*Lion Brand Wool-Ease Thick and Quick or any similar super bulky yarn (I used the yarn in celebration.)
* Yarn needle
Gauge in rib is 5sts and 7 rows over 2 ins. (I knit pretty tight.)
Pattern:
Cast on 56 sts using long tail cast on.
WS Row 1: K2,P2 repeat across row.
RS Row 2: P2,K2 repeat across row.
WS Row 3: K2,P2 repeat across row.
RS Row 4: P2,K2 repeat across row.
WS Row 5: K2,P2 repeat across row.
RS Row 6: P2,K2 repeat across row.
WS Row 7: K2,P2 repeat across row.
RS Row 8: P2,K6,P4,K6,P2,K6,P4,K6,P2,K6,P4,K6,P2.
WS Row 9:K2,P6,K4,P6,K2,P6,K4,P6,K2,P6,K4,P6,K2.
RS Row 10:P2,Slip 3 on to cable needle and let hang in front of work. Knit the next 3 stitches on the regular needle. Then knit the 3 stitches on the cable needle. Now that you know the steps to that I'm gonna abbreviate this to CK6 that stands for cable knit 6. P2,CK6,P4,CK6,P2,CK6,P4,CK6,P2
If you need help with the cabling click here.
WS Row 11:K2,P6,K4,P6,K2,P6,K4,P6,K2,P6,K4,P6,K2
RS Row 12:P2,K6,P4,K6,P2,K6,P4,K6,P2,K6,P4,K6,P2
WS Row 13:K2,P6,K4,P6,K2,P6,K4,P6,K2,P6,K4,P6,K2
Repeat rows 10-13 until finished piece measures 8 inches.
Finishing: Here is an example of what to do:
Here is a sample piece to show you what to do.
(This is just an example of what you'll do on the top of the actual hat.)


Then add a pom-pom if you want.
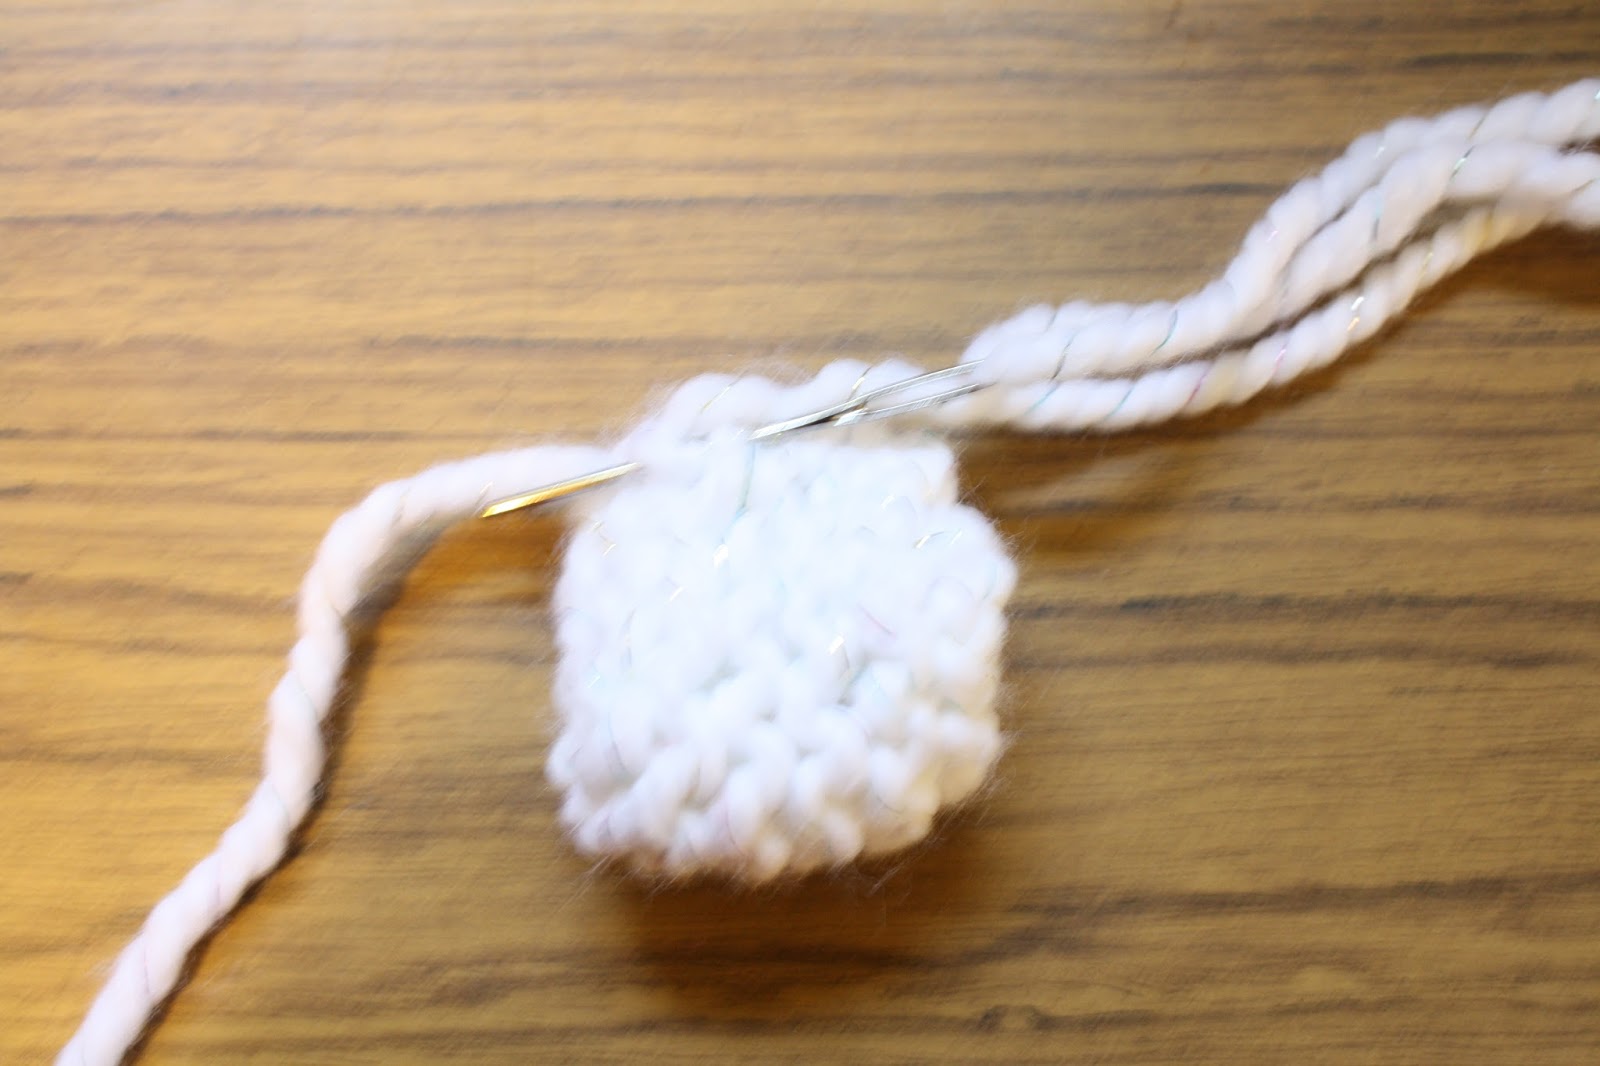
Here is how to make a pom-pom.
(I only use 2 fingers instead of 3.)
(I also would only do about maybe 50 wraps around if that even since its super bulky weight.)
Here is how to add the pom pom. Pull the two long strings in through the top of the hat with a crochet hook or thread the one of the ends through the yarn needle and pull it through then repeat with the other end. And then tie them securely and cut the ends.
And you are finally done!!
~Style11Handmade <3